
Step-Downs
Tiny "step-downs" as well as larger step-downs, and everything in between, are becoming more and more common on machine built trail systems across the US. Gone are the days of mountain bike trails just being old hiking trails. What is more, if a technique works on a larger feature with higher consequences, then it will most certainly work on a smaller one with lower consequences.
There is a difference between a "drop" and a "step-down." A drop doesn't really require the rider to land the bike a certain distance out. Whereas a step-down requires the rider to land on the transition a certain distance out. That is why a step-down is more challenging. If one over shoots the transition and lands to flat, it is going to be bad. If one comes up short and “cases” the knuckle of the lander or transition, it is going to be worse. That is why it is so important the first few times to follow a rider you trust to make sure you are going the right speed off a step-down. It is also important to make sure you have your basic downhill drops (taught in my Ground Control 2 camp) really dialed before you progress to step-downs of any height (taught in my "Launches" camp).
A short "Step-down" demo video. Notice just as with a basic downhill drop, the rider should match both wheels to the angle of the transition, landing the front wheel ever so slightly first and then preferably the rear wheel on the exact same place.
"Step-downs" from Lon Cullen on Vimeo.
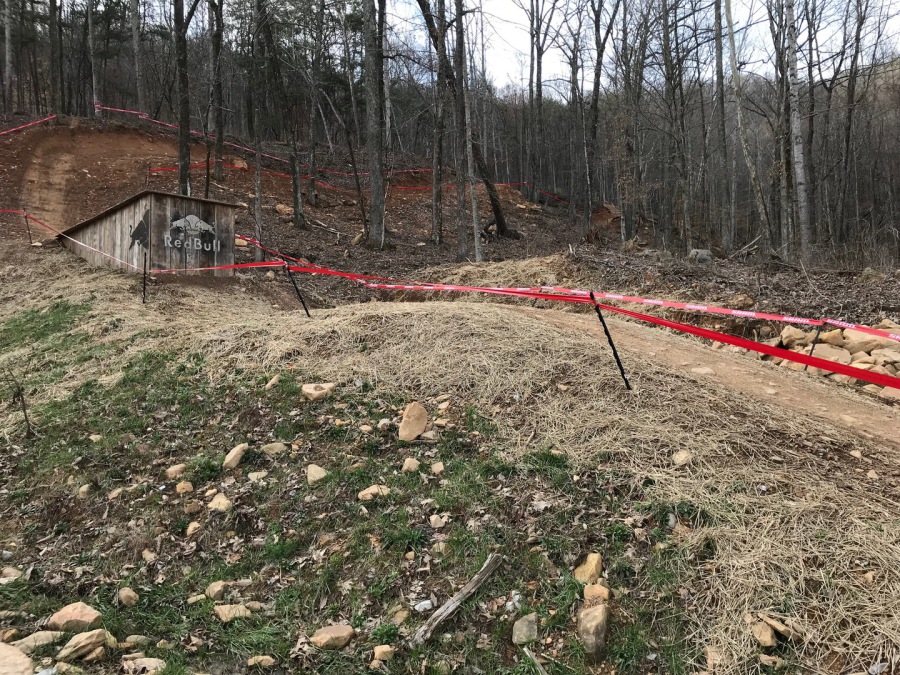
(Above) My Strava calculated I was going 33 mph when I hit this step-down the first time. If I did not go that fast, I likely would not have cleared the knuckle, which was about 32' out. Not making the transition would have been catastrophic, as this scenario has been demonstrated by other riders. I know that hardly any of my clients are interested in checking this feature off their list, but just about all my clients want to learn how to execute shorter drops and step-downs safely.
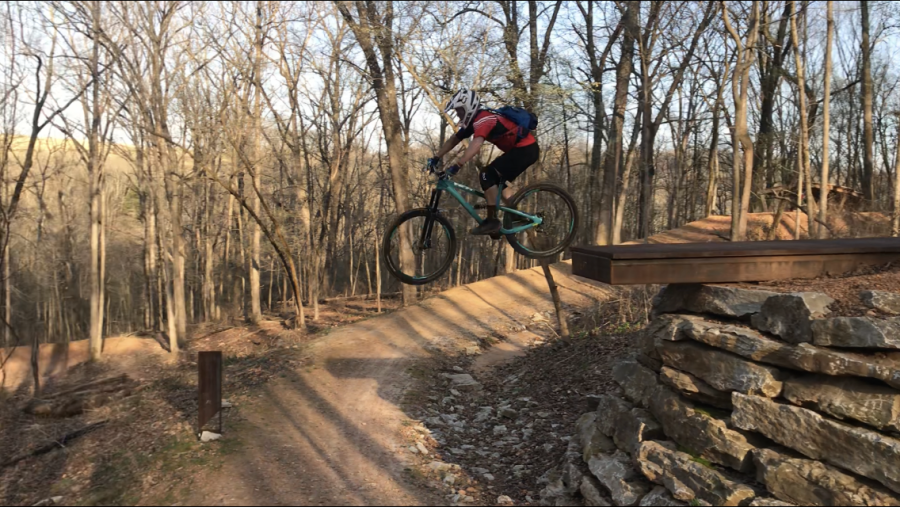
(Left) This is a signature step-down called, "Drop the Hammer," at Coler Preserve in Bentonville, Arkansas. It is 9.5 feet tall, and requires nearly a 17 foot trajectory in order not to case the knuckle and really get hurt.
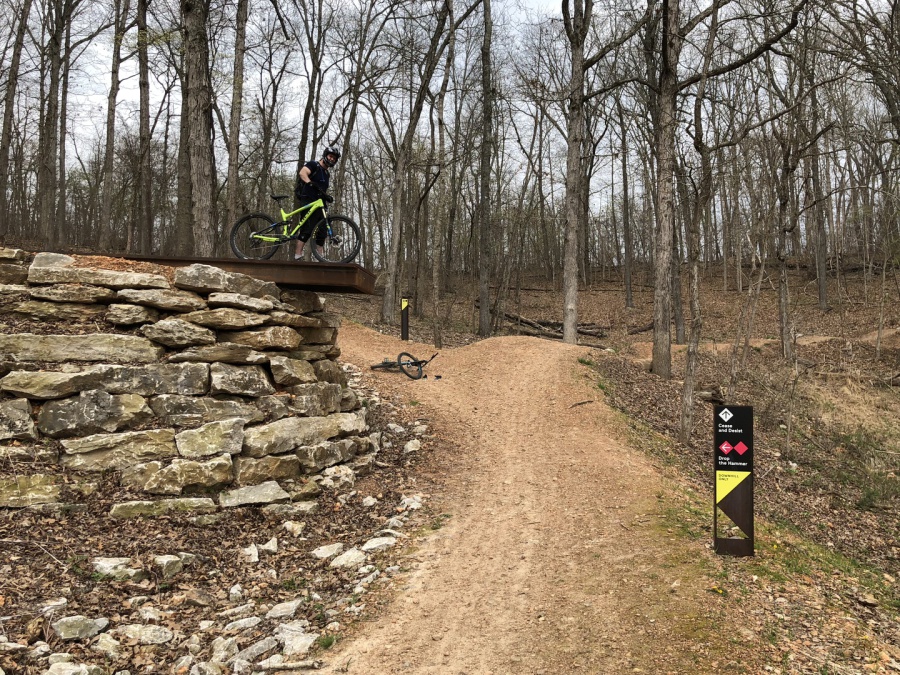 "Drop the Hammer" pictured from the other side