Mountain Bike Skills Camps, primarily in the Southeast
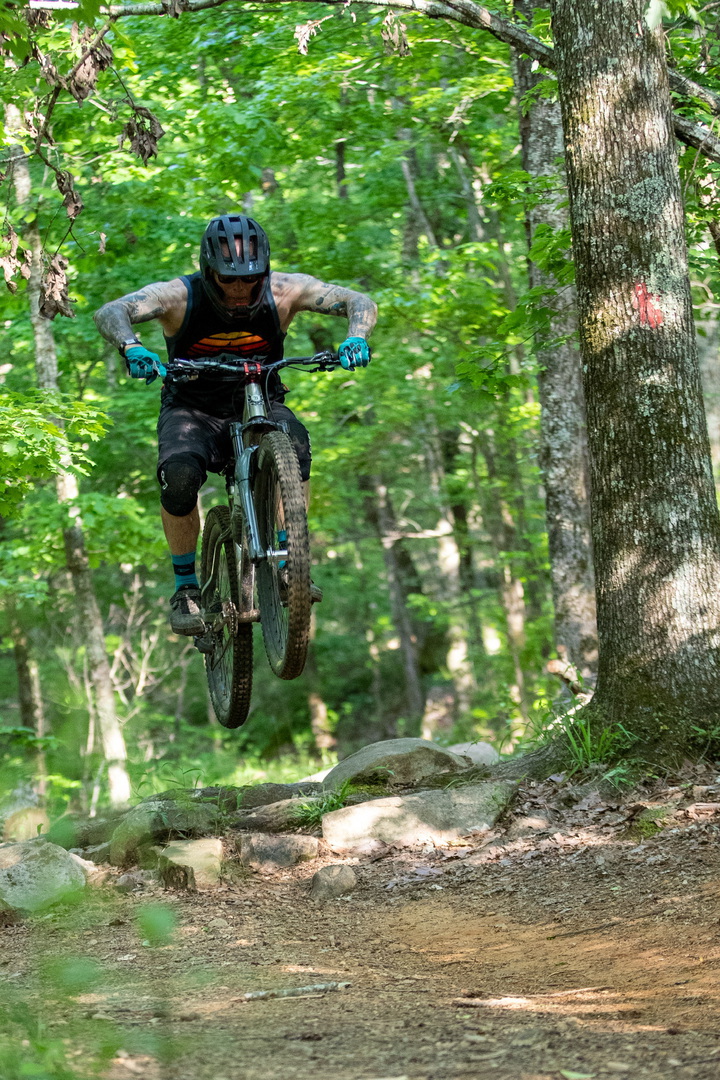
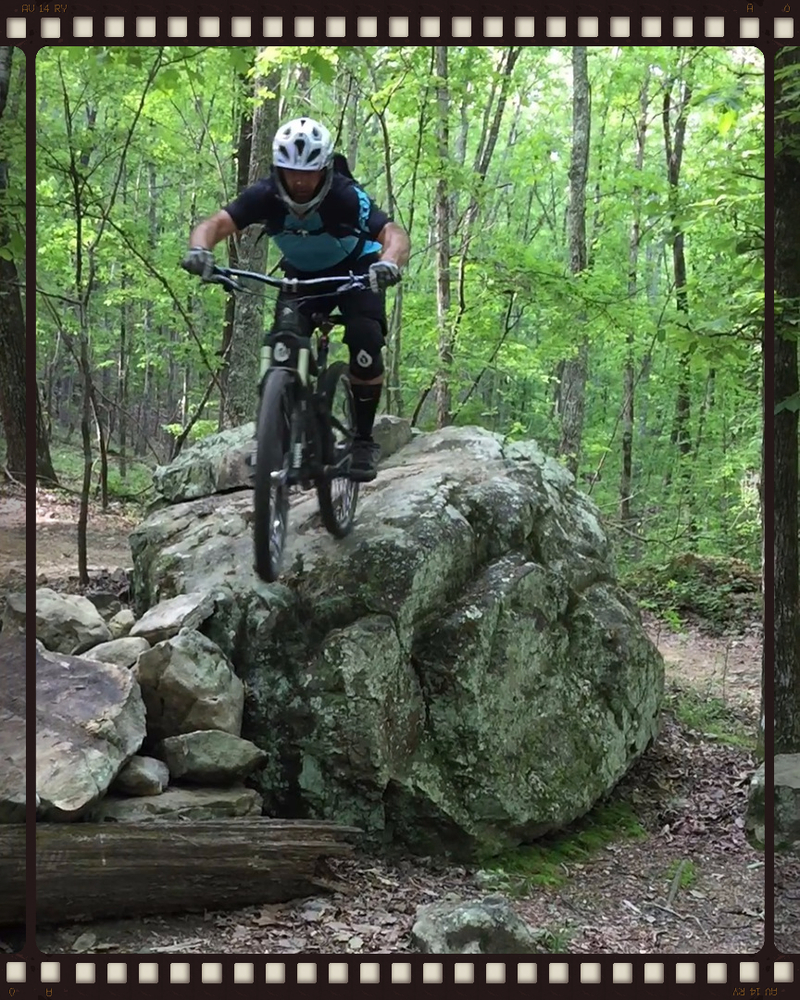
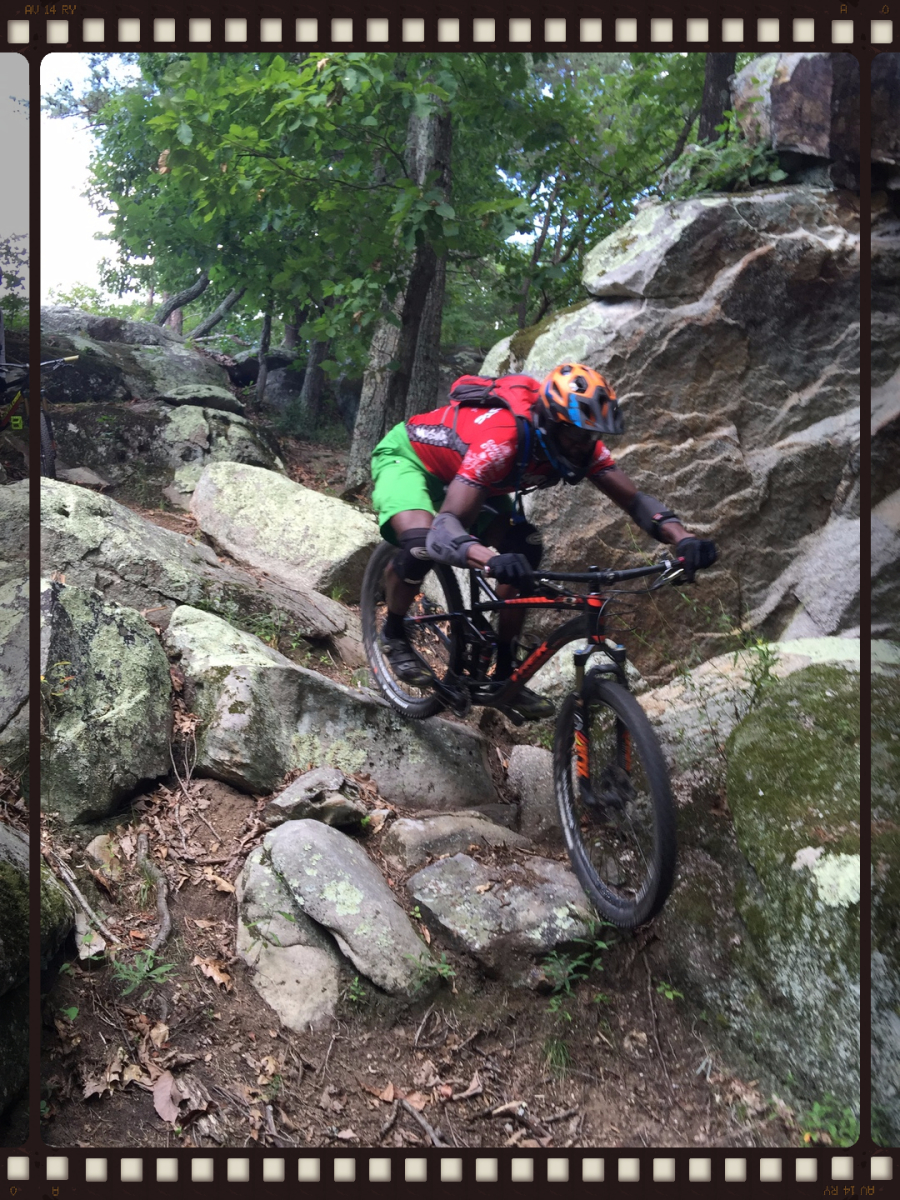 While both the rider and the terrain in this picture are far from beginner, in "Ground Control 1," I explain the pros & cons of body position as demoed in this picture.
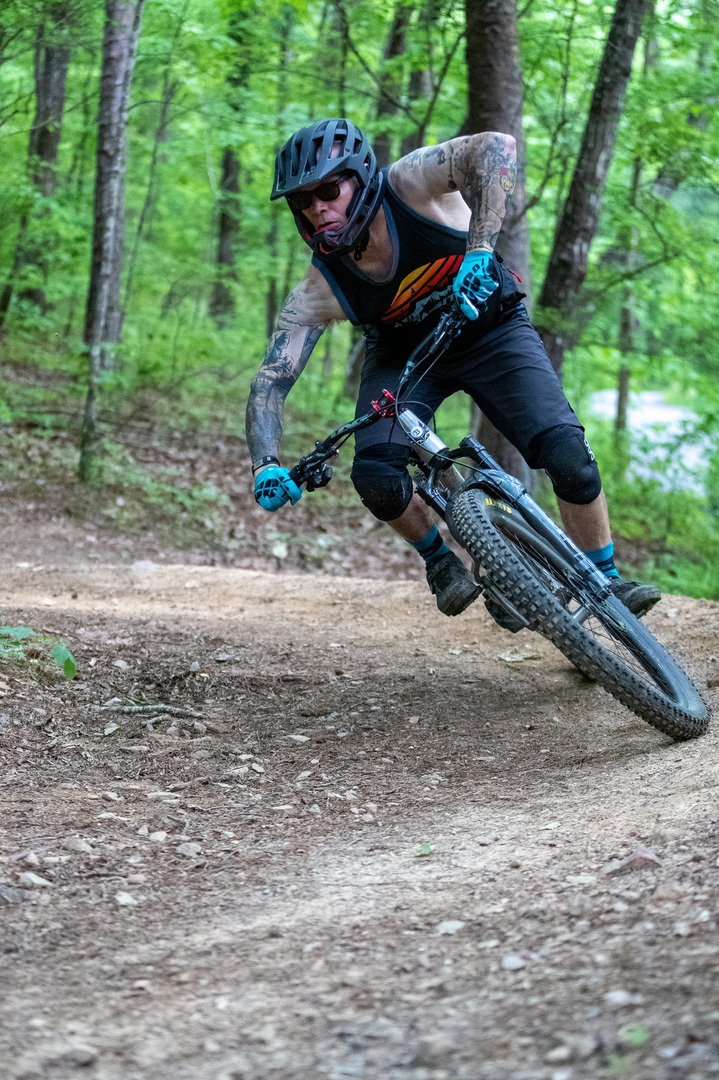 Cornering is covered in "Ground Control 1" photo: Dirt Life Media Designs
Ground Control part I (For Strong Beginners to Experts)
It's easy to assume that Ground Control 1 is only for those who are new to the sport. But I teach cornering in GC 1, and cornering is something that everyone, regardless of ability, can always improve on. I teach what 2018 and 2019 American National Champion Neko Mulally teaches on cornering and then sprinkle in what I learned in Whistler and from other instructors. This makes for some of the best cornering technique out there. Some of these cornering skills are demoed here: off camber switchbacks
I've seen it happen many times. A strong sport or expert level XC racer with years of experience finally decides to give a skills camp a shot. Early in the day, they think to themselves, "I already know all this," but by the time we cover cornering, they tell me, "I really didn't know as much as I thought I did, and what you showed me really helps me get better traction in turns and helps me to feel more confident that my front wheel won't slide out."
I will admit that when I first started paying for coaching, I always wanted to go to the trails that were already the most challenging for me and practice skills there. But I learned there
is little chance of getting the skill right when one is just trying to survive. Up until after lunch we will be practicing skills in the field and making sure they are perfect. Then after
lunch we will be applying the skills on the trails.
PLEASE NOTE: This camp is for strong beginners to experts. A strong beginner should be able to fix his or her flats, take care of his or her bike, and ride a green trail at a reasonable pace. For more on this, and other FAQS, go here.
Most of the following skills and maneuvers are taught:
- Body Positioning (For those of us who have been at mountain biking for a while, I believe this skill is probably the most underestimated. It is also the skill that separates the highest level riders from mediocre riders. More info on body positioning as well as a demo video here.)
- Crashing--how and when to crash as safely as possible. ALL THE SKILLS INSTRUCTION COMPANIES I KNOW OMIT THIS VALUABLE LESSON.
- Terrain Awareness ( For a "Quick Clinic" on using Terrain Awareness to descend "Blood Rock", go here.)
- Braking (Including Braking in Corners and on Steep, Rocky, & Muddy Terrain)
- Shifting & Efficient Use of a Dropper Post
- Technical Climbing Demo Video Climbing Up "Blood Rock"
- Roll Down Lunge (I've been amazed at how many extremely advanced riders who I have coached weren't performing this maneuver nearly as well before we worked together as they were after. Demo Videos & More Info on the "Steady Head Roll Down."
- Tripod (A Nice Tool to Have When Dealing with Exposure, Mud, or Ice in a Corner)
- The skills I teach work, even on a hardtail: Hardtail GC1 Demo Video
My experience has been that there are many riders out there who are experts in terms of their fitness level. Many of these riders are extremely fast on a road bike or on what I would call "easy trails," but their weakness is keeping that speed safely on a mountain bike through the more technical trail sections. If you are that type of rider, then my goal is to add some solid skills to what you already have in terms of fitness, so you can be a force to be reckoned with even when the trail gets most difficult.
If you are a beginner, then you have a huge advantage over many of us who grew up where there was no quality mountain bike skills instruction. You have the advantage of learning skills the right way for the first time; and because of that, you won't have to spend so much of your riding life unlearning bad habits.
Ground Control part II (For Intermediates to Experts)
In the second part of Ground Control, I will teach most of the following maneuvers:
- Trackstands (Including where and why you would use this maneuver on the trail)
- Front Wheel Lift.
- Rear Wheel Lift.
- Riding a Wheelie (You know for style, like the kids do!)
- Manual or Coaster Wheelie (Flat pedals make learning this and riding a wheelie safer.) For a "Quick Clinic" on Manualing off "the Filter Feature on Lightning" for style, go here.
- J-hop or Bunny Hop.
- Nose Picks.
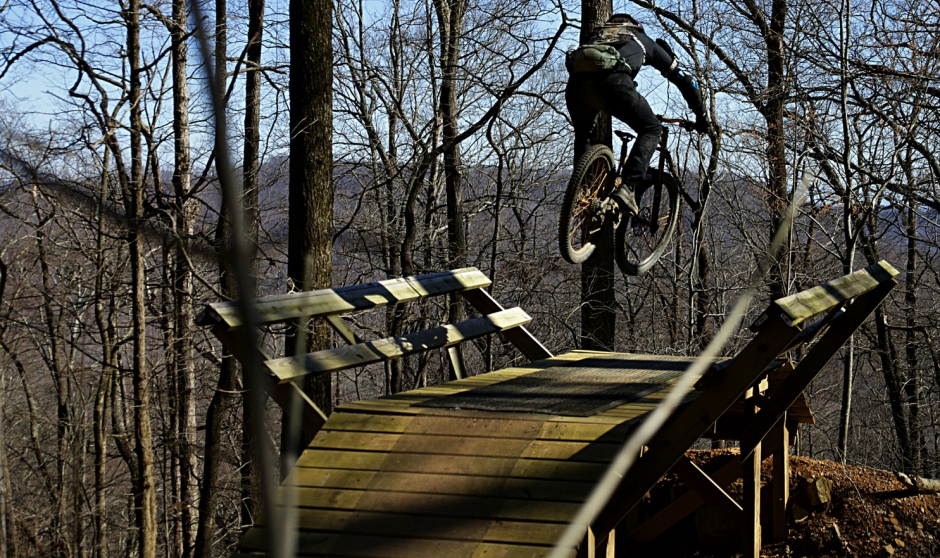
- ( Info on downhill drops)
- Pedal Drops (including how to know which drop technique to use) Pedal Drop Demo Video
Maneuvers that involve getting the wheel(s) off of the ground are a focus for GC 2. The more one understands these techniques, the less chance of injury when the wheel(s) come off of the ground.
Some bad riding advice that I have heard over the years is as follows:
- "Lean back as far as you can on steep technical descents."
- "Only use your rear brake."
- "Never use your brakes in the middle of a turn."
- "Keep your seat high and use it for balance by bracing the inside of your legs against it."
In both Ground Control 1 & 2, I will help you understand why these and other myths are wrong and teach you better ways to ride.
Launches (For Strong Intermediates to Experts)
We will cover most of the following
maneuvers:
- Jumps: I will introduce step-ups, step-downs, hips, tables, & doubles. Probably the most important part of this camp is the introduction to jumping component. This is important because jumps of all types are becoming more and more common on machine built trails across the country (think Bentonville). While I have correctly jumped a 40' table top going over 20 mph more than once, I'm by no means an expert jumper. If you are already a good jumper, then I will not be able to help you very much. This is only an introduction to jumping. For a "step-down" demo video and a few tips go here.
- Basic "pop drop" drop.
- Advanced "racer drop" drop: Crucial for drops in steep terrain and drops with a short transition. For a "Quick Clinic" on this drop, go here.
A word on jumps and drops: I don't want anyone hurt during any of my camps for at least two reasons. 1, If you get hurt, then you are guaranteed not to have a good experience. 2, If one person gets hurt, then it ruins the camp for everyone else; and some people have traveled quite a distance to attend a camp.
With this in mind, this is a camp to hone one's skills and learn new information--not a camp to "cut one's teeth" by hitting a big feature for the first time. For example, we have a drop called "the box drop" at Oak Mountain. This camp would not be a good time for a student to try the box drop for the first time. This also allows more time for the new material learned in this camp to sink in and be practiced on smaller features. I just want to be transparent so that everyone knows that I'm all about safety in progression, just as I was taught and personally held to in Whistler.
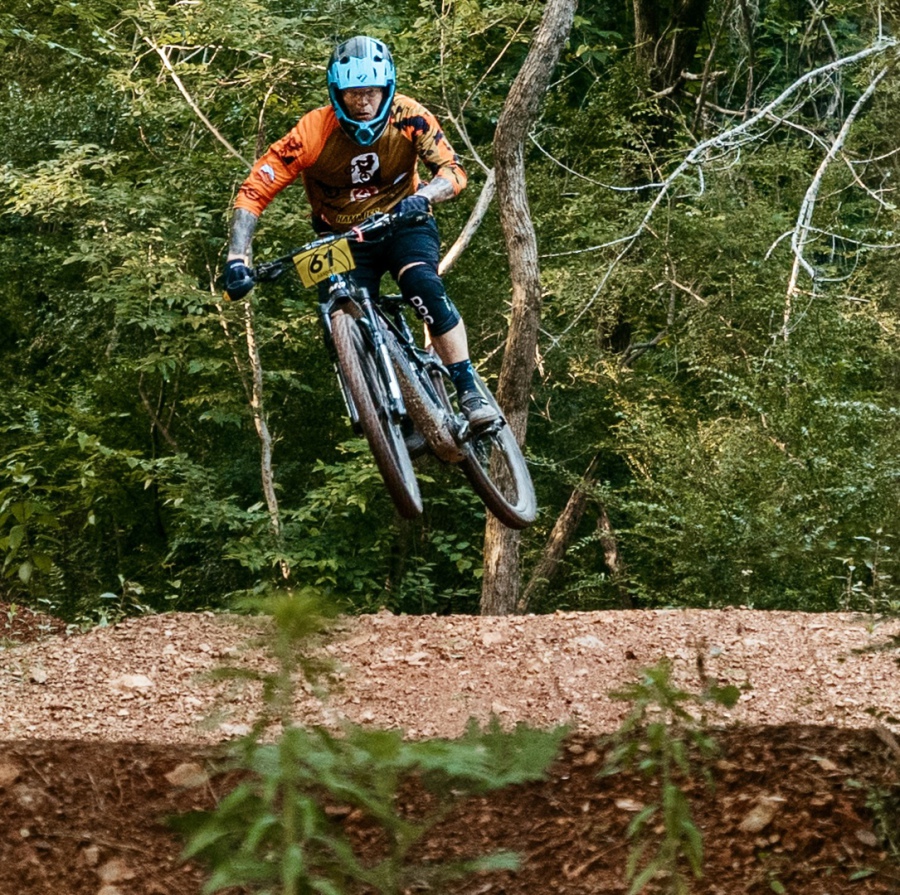 Photo credit: Kari Marsh Photography. This jump on “Kanuga” is one of the many jumps at Ride Bham that the “Launches” clinic begins to prepare the client to hit safely.
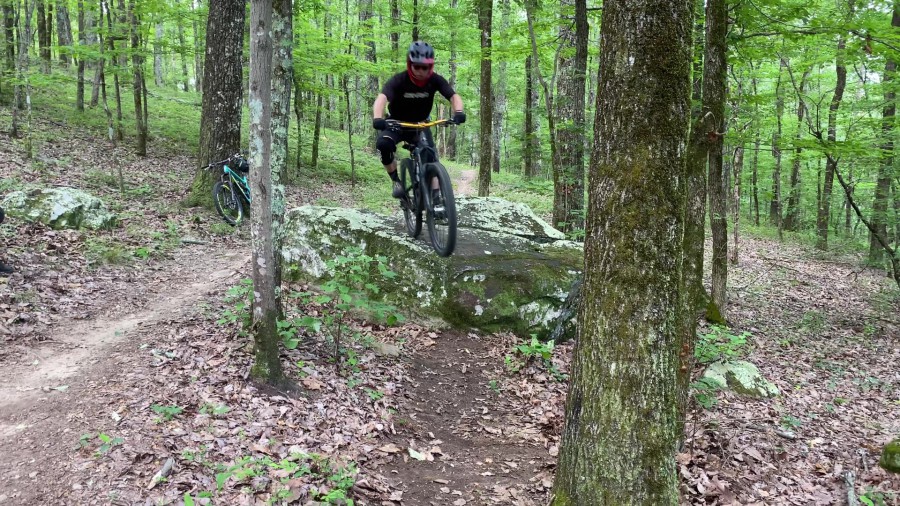
 Bump jumps are covered in "Launches." photo by Dirt Life Media Designs
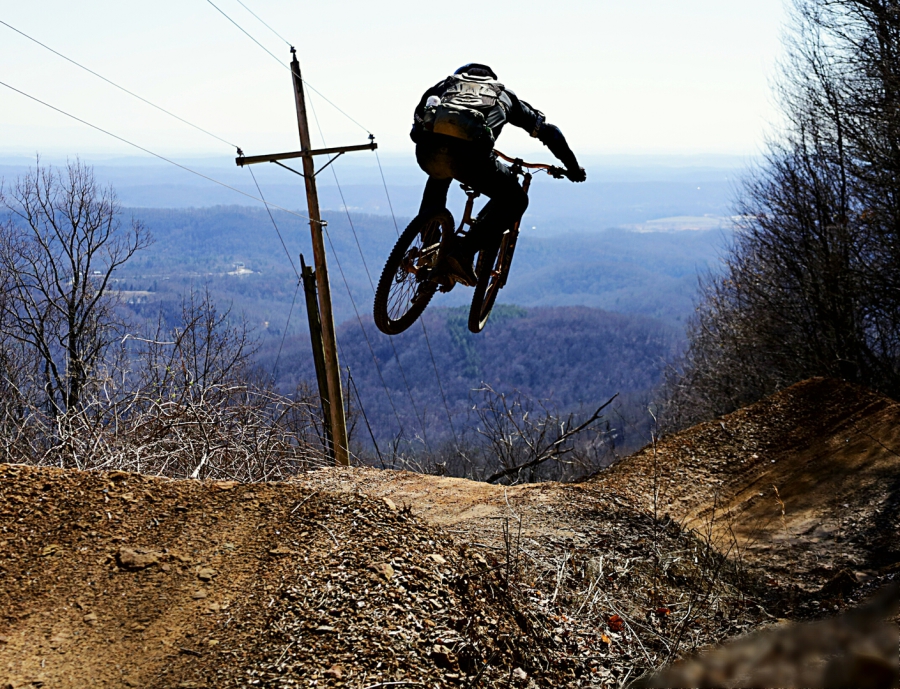 Photo credit: Jarrod Ray. While we won’t be hitting 30’ jumps like Lon is hitting in this photo, the same techniques he is using for not “dead sailoring” will be be taught in the “Launches” course.
"Boulder Ridge" (Experts Only)
_____________________________________________________________________________________________________
"Boulder Ridge" at Oak Mountain State Park is a trail I helped to build years ago. It has some of the most challenging technical ascents and descents that I've found in most all the trail systems I've ridden. However, that does not mean there aren't "walk around" lines or easier lines to start out with. I can show you the best lines for your skill progression. I also can give you tips from all three of my other camps in order to help you nail your lines. I don't charge any more for guiding riders who I believe are ready for this trail because I don't want to be responsible or have any liability should he or she make a mistake and get injured. Without a guide who has been riding this trail for years, riders ride right by many of the optional lines, thinking they have ridden Boulder Ridge. The following video gives a taste for some of the more challenging descents back when I used to charge riders for teaching them on it.
"Storyteller" For Strong (Experts Only)
_____________________________________________________________________________________________________
This trail would be the steepest, most technically challenging enduro stage in Alabama, if one chose to hit all the "a lines" on it. There are bypass lines on most, if not all, features. Like "Boulder Ridge," I no longer officially teach on this trail for money, because I don't want the responsibility or liability. But, when I have time, I don't mind taking expert riders on this trail and showing them the goods, as long as they agree I'm not responsible for them. Here is a video of one of the more challenging lines on the trail:
 "Pedal Drops" are covered in GC2
 Everything from basic skills to advanced maneuvers, like this "stoppie" on steeps, is taught in safe progression in private lessons.
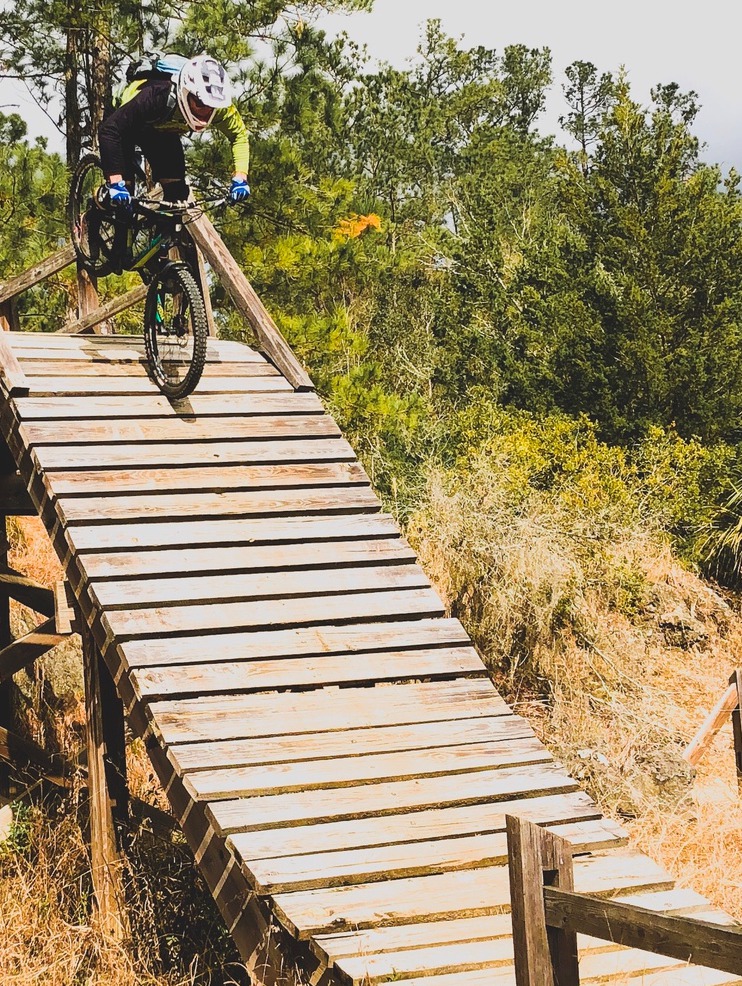
 Javier, one of my students who I have been working with the longest, nailing a drop on a trail bike that is challenging even to ride up on to, much less off of.
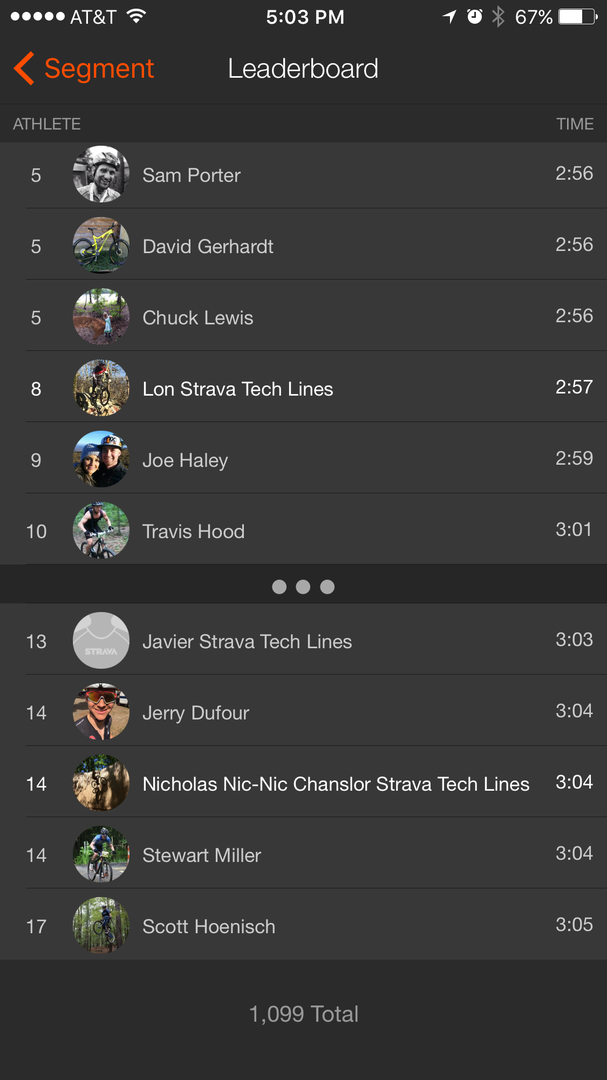 Yeah I know; Strava never tells the full story, for we are never as fast as it says we are or as slow; but it is a fun way to race your buddies on days when the trails are almost empty. My camps increase performance.
 One of several advanced NICA camps I have led.
Mountain bike skills camps primarily in the Southeast